De cele mai multe ori, pentru a pastra plantele pentru iarna apelez la clasica metoda a uscatului. Anul trecut am pus la congelator petale de trandafiri frecate cu zahar pentru a le folosi mai apoi la prajituri si inghetata. Au stat foarte bine.
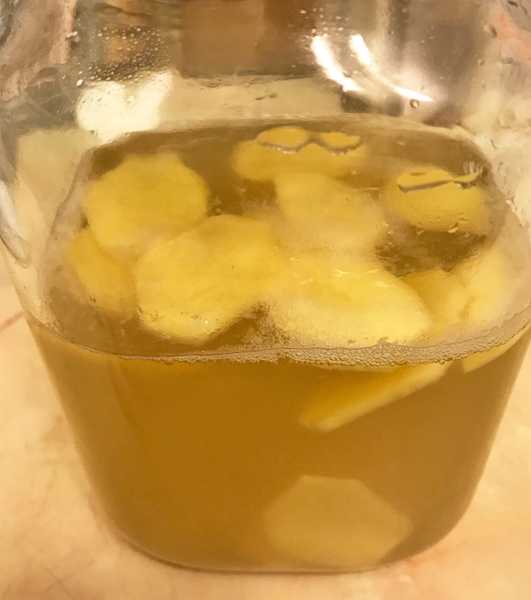
Anul asta, am gasit pe net ca florile de soc proaspete se pot pune la congelator pentru a pastra aroma lor puternica, lucru care nu se intampla daca le usuci. Asa ca am pus de test cateva pungute cu flori de soc la congelator pentru a face socata cand ne-o lovi pofta.

Unii ziceau ca nu stau bine, ca se se innegresc la decongelare. Am scos de test o punguta sa vad care e verdictul si am facut un borcan mare de socata.
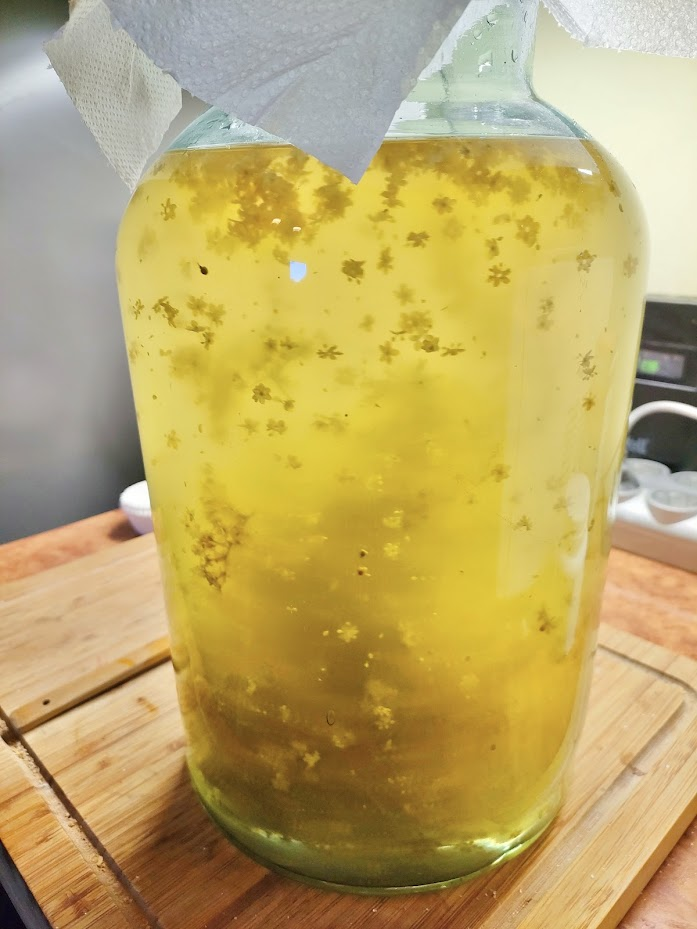
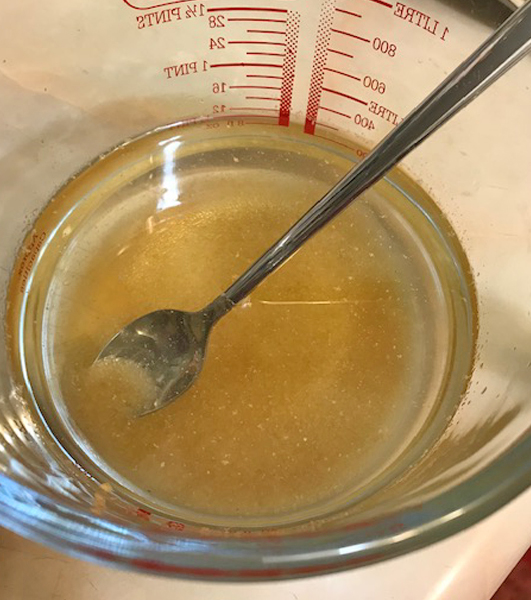
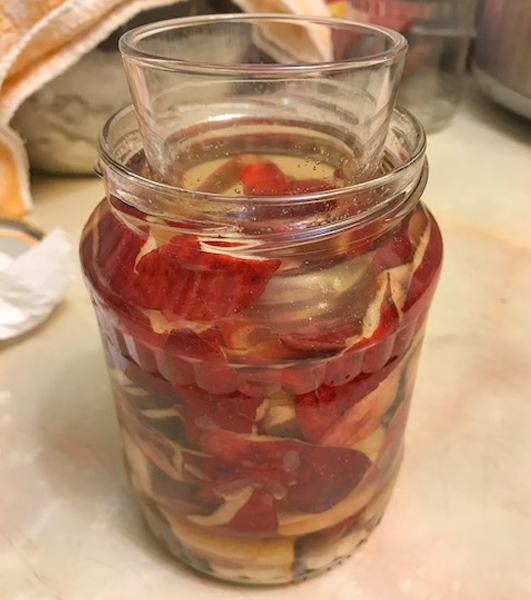
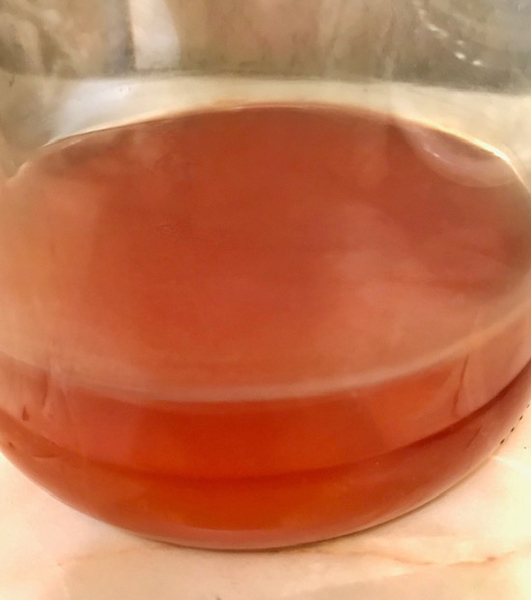
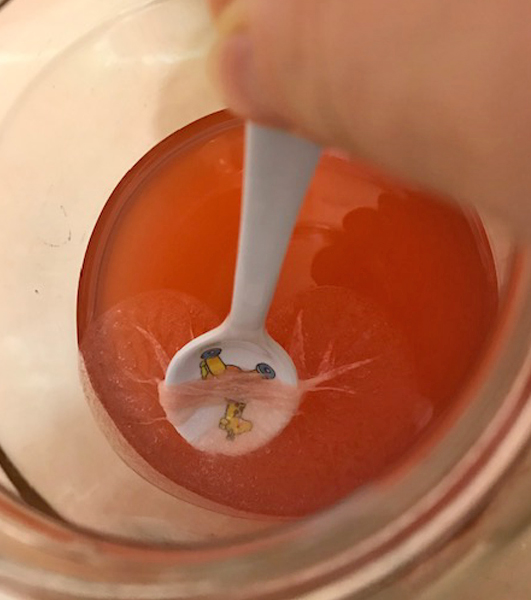
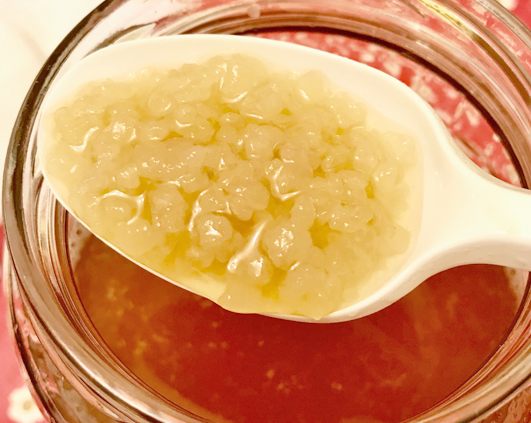
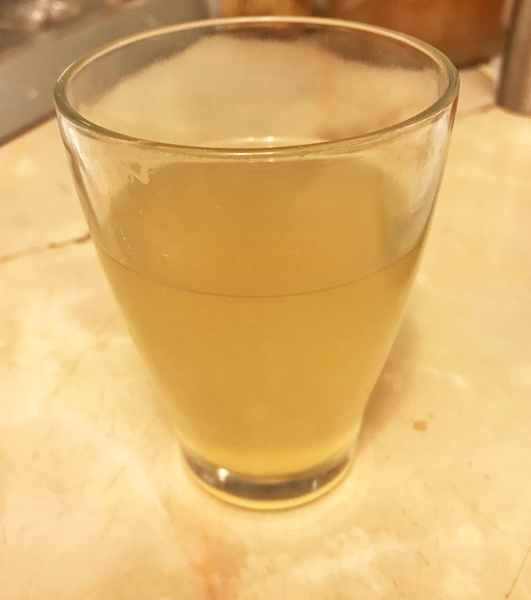
Am pus florile congelate direct in apa fierbinte amestecata cu suc de lamaie, si dupa cateva minute le-am turnat in borcanul cu apa rece amestecata cu zahar. Le-am lasat cateva zile pentru a obtine socata. S-au oxidat putin, dar nu as putea zice ca s-au innegrit. Gustul este perfect, de socata facuta cu flori proaspete.
Cred ca la anul trebuie sa-mi iau un congelator mai mare 😀 la cate prostii sunt in stare sa bag la congelat.